How To Install LED/Low Voltage Bollard Lights.

Bollard lights are brilliant for safety and style as they can easily light up a driveway guiding you home at night. Bollard lights can be used anywhere, in your driveway, garden or on paths as they can be installed virtually anywhere if you can bury the electrical wiring for the bollard. Although bollard lights look difficult to install, it can be simple and safe as long as you know what you're doing.
1- Picking transformer wattage.

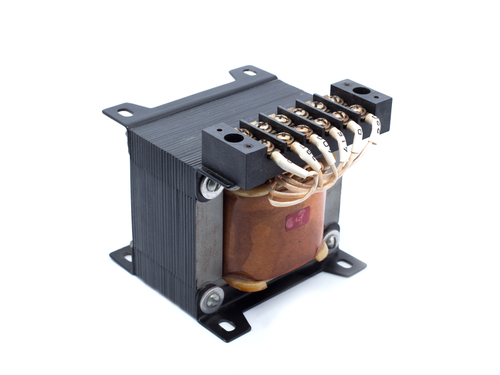
It is important you have the right wattage transformer otherwise you will overload the transformer causing it to stop working. You need to know how many bollards and the total wattage of all of them is before picking your transformer. A low voltage system is much safer for a garden environment as if you accidentally hit the cable whilst gardening the most that can happen is the lighting system will turn off and bad weather is unlikely to affect the circuit. Low voltage bollards tend to be brighter and have a wider selection of beam angles than halogen lamps.
2- Cables.

You shouldn't put more than 12 lights on one cable as it will cause a voltage drop and loading issues, every cable needs to be 100% watertight, you can do this by using a heat shrink kit, a resin sealing compound or IP rated junction boxes. Make sure all fittings that are ground mounted have proper draining systems beneath them especially in clay based soil beds.
3- Concrete casting.

The mounting bracket that will attach to the bottom of the bollard needs to be cast in concrete. You need to dig a hole big enough for the bollard to be level with the ground. Place a sonotube into the hole and fill with concrete, make sure the sonotube has PVC or a pipe in the centre of the tube for the wiring to go through and that there is enough space to connect the wires at the top and bottom of the bollard.
4- Mounting bracket.

Put the mounting bracket in the centre after the concrete has been poured making sure it is level, wait for it to dry. the mounting bracket will be connected at the bottom mounting plate by bolts then the bollard's housing unit will then slide on to the mounting plate to be secured with screws.
5- Wire electrics.

If you are going to use series wiring to power the bollard from the transformer it will decrease the current flow when you add more bollards, if you plan to use parallel wiring the lamps you add the more current will flow through the circuit. wiring the wrong way could blow all the lights. Be careful when touching electricals. If you are inexperienced in electrics we recommend you hire an electrician as it can be very dangerous.